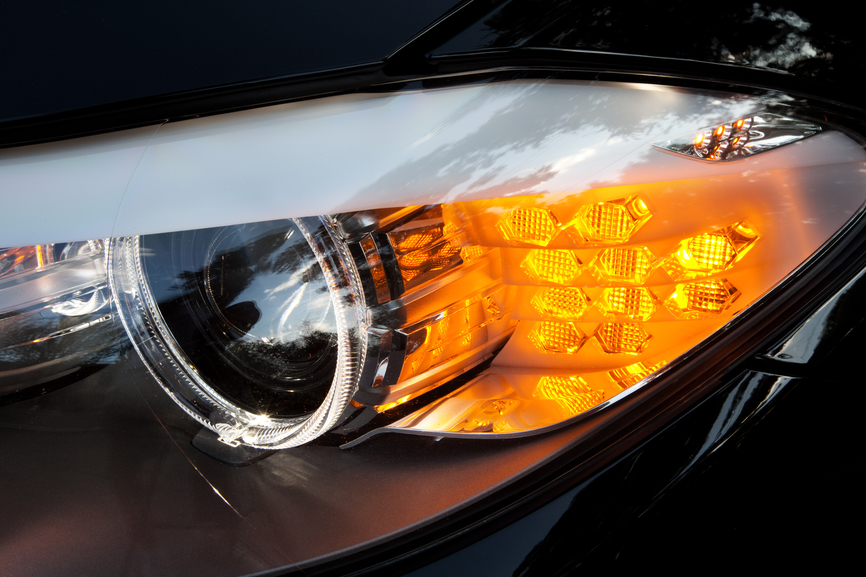
Headlights are a key fixture of any vehicle, both from an aesthetic and functional perspective. As a passionate car-enthusiast, you want to keep your car looking and performing at its very best – and if your headlights become damaged or foggy, you will want to get them fixed as soon as possible.
Driving at night demands headlights be working at their absolute best – if you experience poor visibility on roads in darkness, then you place yourself, other drivers, and any potential vulnerable people / animals in greater danger (NHTSA, the National Highway Traffic Safety Administration, states that there are four to five times more driving fatalities at night than during the day).
Damage to your headlights will affect their ability to lead your way, whether at night or during extreme weather conditions (heavy fog, rainfall etc.) – by up to as much as 90% in certain cases. The expense of replacing headlights altogether can run into hundreds of dollars.
Here at Lane's Professional Car Products, our range of auto-detailing items provide all you need to restore your headlights to their former glory. Our Headlight Lens Restoration Cleaner & Restorer Polish is a complete solution for bringing your headlights back to their best.
Simple to Use, with Long-lasting Results
As with all of our products, our headlight cleaner & restorer is easy to use and formulated for long-lasting, high-quality results. We have taken the time to create simple, clear instructions to help you get the most out of this kit: our customers have found this is the ultimate way to bring headlights back up to their optimal quality, effective on all types of cars and trucks, and we help you through it, from start to finish.
For those of you curious about how to use this set before you buy, however, we've provided a brief step-by-step guide for you below!
First of all, what does your kit include?
- Poly Prep Liquid
- Poly Clean
- 400, 1000, 2000, and 3000 grit sandpaper
- Poly Seal
- Latex gloves
- Cotton balls
Full instructions (as we mentioned earlier)
Step 1:
Use your 400 grit sandpaper to sand your headlights horizontally, back and forth.
Step 2:
Now, sand your headlights horizontally with your 1000 grit sandpaper, back and forth.
Step 3:
Next, use your 2000 grit sandpaper in a circular motion on your headlights.
Step 4:
With your 3000 grit sandpaper, sand your headlights in a circular motion again.
Step 5:
Now that you've used your sandpapers on your headlights, wipe them with your Poly Clean (in the squeezable tube).
Step 6:
To finish, use your Poly Seal to seal your headlights (apply with the cotton balls), and then allow to dry.
Step 7:
Finally, take a step back and admire your newly-restored headlights!
We hope this has helped you understand just how our headlight polish & restore kit works, and given you an idea of how easy it is to use: as you know, at Lane's Professional Car Products, we focus heavily on making each and every product we create as user-friendly and effective as possible. You see, our founder – Lane Pietro – started out as a professional auto-detailer with a real passion for cars: when he began to realize the range of products available to him didn't provide the quality or the fast performance he needed, he started to formulate his own – and has gone from strength to strength since!
Using our headlight polish & restorer will provide great results every time, but if you need more information before you buy, or have questions after your purchase, please don't hesitate to get in touch! We love to hear from our customers, so give us a call, send us an email, or use our Live Chat feature for an instant connection.

